


Get Paid to Ride.
Becoming a Go Leadout Pro.
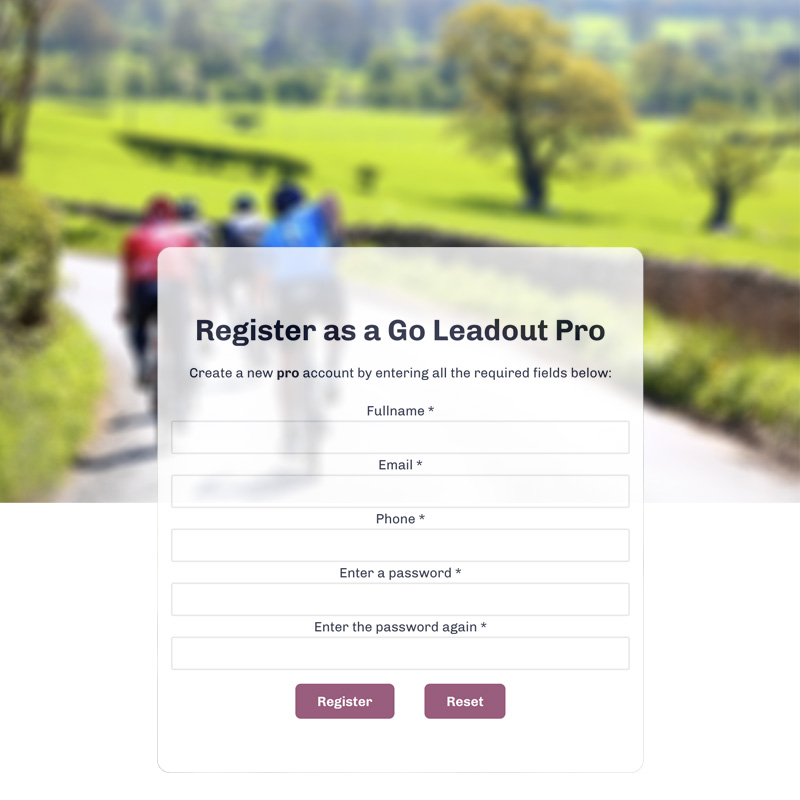
Register for a pro account.


Create your pro account on the Go Leadout website and save your account login information. After creating your account the system will take you to your dashboard overview where you will be shown the next steps in activating your account. Click the "Your Profile" button and enter your personal information, including a photo of yourself, a link to your Strava profile, your cell phone number, and finally a list of zip codes where you plan to operate. Your account will not be eligible to create rides on the booking platform unless these steps have been completed.
Connect your bank account to get paid.

In order to complete the onboarding process, go to the bottom of the "your profile" page to the "payments" section. At the bottom of this section there will be a button that says "Start Onboarding Process". Click that button, and you will be directed to the Stripe Payments integration page for Go Leadout. Fill out all of the requested information and follow the steps until completion. You will then be able to see a stripe dashboard for your payment information, at this point your account is fully onboarded, and you are eligible to receive payouts, and create booking on the platform.
Create rides according to your schedule.

Now that your account is fully onboarded you can navigate to the "Manage Rides" page in your dashboard. At the top of the page you will find the tool for creating rides on your schedule. Select a date, start time & duration for each ride, then hit the "add" button. The ride will show up on your calendar with an orange dot (this dot will change to green and show booking information when a ride is booked.) The tool for adding rides keeps your information in place after adding each ride, so you can easily add a similar ride on a different date. Your upcoming booked rides and past rides are shown in list format below the calendar. Don't forget that we recommend averaging at least 2 rides per week over the course of a month and we strongly encourage you to set your schedule at least 30 days in advance so customers can book your rides well into the future.
That's it. You are ready to get paid to ride!
Are You Ready to join our team?
Let's Roll.